

On warm days, it is especially important to drink enough water. A handy holder for your water bottle is perfect for taking it with you on a walk.
I got the idea for this bottle holder through my work as a support worker. Someone I supported had crocheted a simple holder for her water bottle. I thought it was such a practical and creative idea that I immediately wanted to make one myself.
Once I got home, I couldn’t stop crocheting and soon finished my own bottle holder. In this free crochet pattern, I will show you step by step how to make one yourself.
Free crochet pattern: crochet bottle holder

Materials
To crochet this bottle holder, you will need:
- A water bottle of approximately 500 ml
- A 4 mm crochet hook
- One ball of Zeeman Elsa Melange, or a similar yarn
(50% acrylic, 50% cotton – 100 grams/200 metres) - A stitch marker
- A yarn needle
- Scissors
- Optional: a leather label
How to crochet the bottle holder
Start with a magic ring. Mark the first stitch of each round with a stitch marker. The bottle holder is worked in continuous rounds. Do not close the rounds with a slip stitch; work the first stitch of each new round directly into the first stitch of the previous round.
Round 1: Work 8 single crochets into the magic ring.
Round 2: In the first stitch, work 1 single crochet, chain 1, 1 single crochet and chain 1. In the next stitch, work 1 single crochet and chain 1.
Repeat this sequence 3 more times.
Total: 24 stitches (12 single crochets and 12 chains).
Please note: from the next round onwards, work only into the chain spaces. Skip the single crochets from the previous round.
Round 3: Work 1 single crochet and chain 1 into each of the next 2 chain spaces. In the following chain space, work 1 single crochet, chain 1, 1 single crochet and chain 1. Repeat this sequence 3 more times.
Total: 32 stitches (16 single crochets and 16 chains).
Round 4: Work 1 single crochet and chain 1 into each of the next 3 chain spaces. In the following chain space, work 1 single crochet, chain 1, 1 single crochet and chain 1.
Repeat this sequence 3 more times.
Total: 40 stitches (20 single crochets and 20 chains).
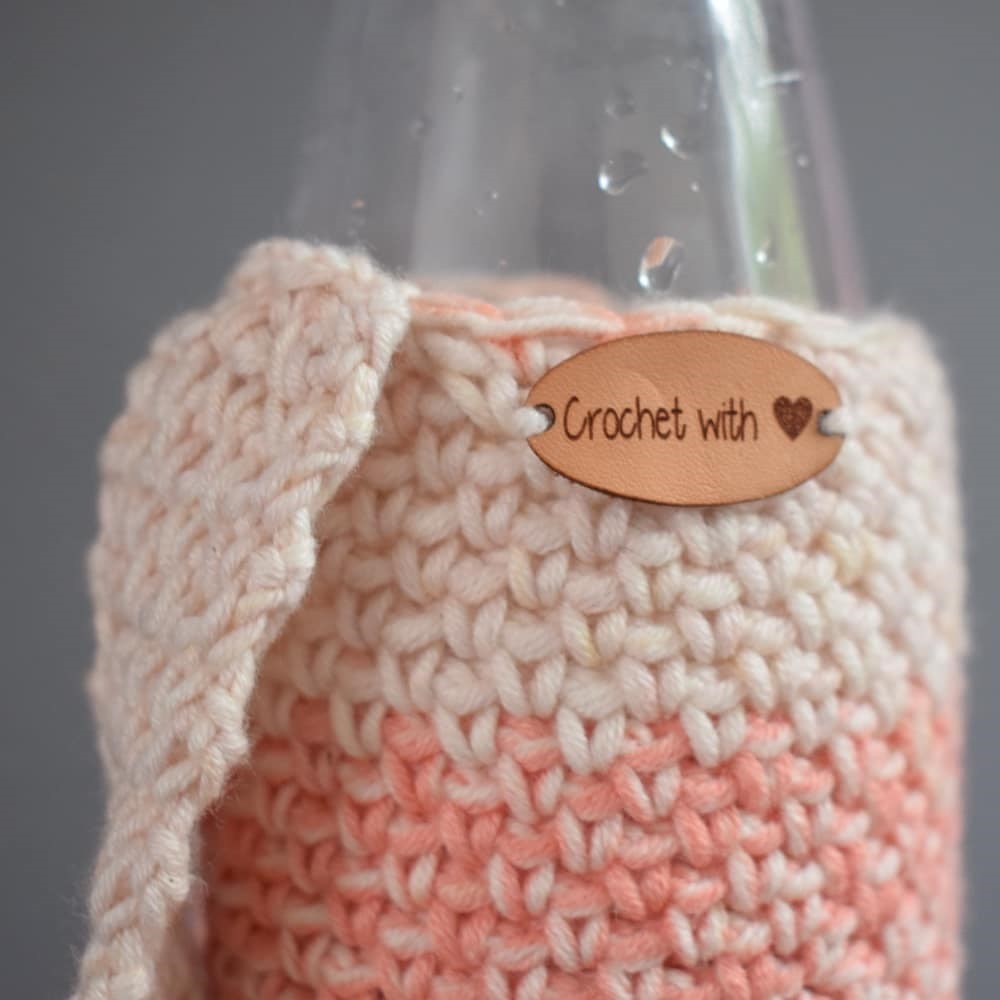
Round 5: Work 1 single crochet and chain 1 into each of the next 4 chain spaces. In the following chain space, work 1 single crochet, chain 1, 1 single crochet and chain 1.
Repeat this sequence 3 more times.
Total: 48 stitches (24 single crochets and 24 chains).
Round 6: Work 1 single crochet and chain 1 into every chain space. Continue to the end of the round.
Total: 48 stitches (24 single crochets and 24 chains).
Rounds 7 to 38: Repeat round 6.
Round 39: Work 1 single crochet into every chain space.
Total: 24 single crochets.
Crochet the handle
Row 1: Continue from where you finished round 39. Work 1 single crochet and chain 1. Repeat this 3 more times.
Row 2: Chain 1 and turn your work. Work 1 single crochet and chain 1 into each of the first 3 chain spaces from the previous row. Work 1 single crochet into the final single crochet.
Rows 3 to 174: Repeat row 2.
Turn the entire bottle holder inside out.
Row 175: Attach the end of the handle to the opposite side of the bottle holder, 8 stitches away from the beginning of the handle. Work 1 single crochet and chain 1. Repeat this 2 more times and finish with 1 single crochet. Fasten off.
Leave a long enough yarn tail to sew the handle securely into place once more. This will make the handle extra strong.
Have fun crocheting your own bottle holder!
Have you used this pattern? I would love to see your finished bottle holder. Share your photo on Instagram and tag @zusjeknus, or use the hashtag #zusjeknus.
You can also explore my other free crochet patterns for even more inspiration.
Lots of love,
Marijke from Zusje Knus